The Holga 120 - It all begins with an idea.
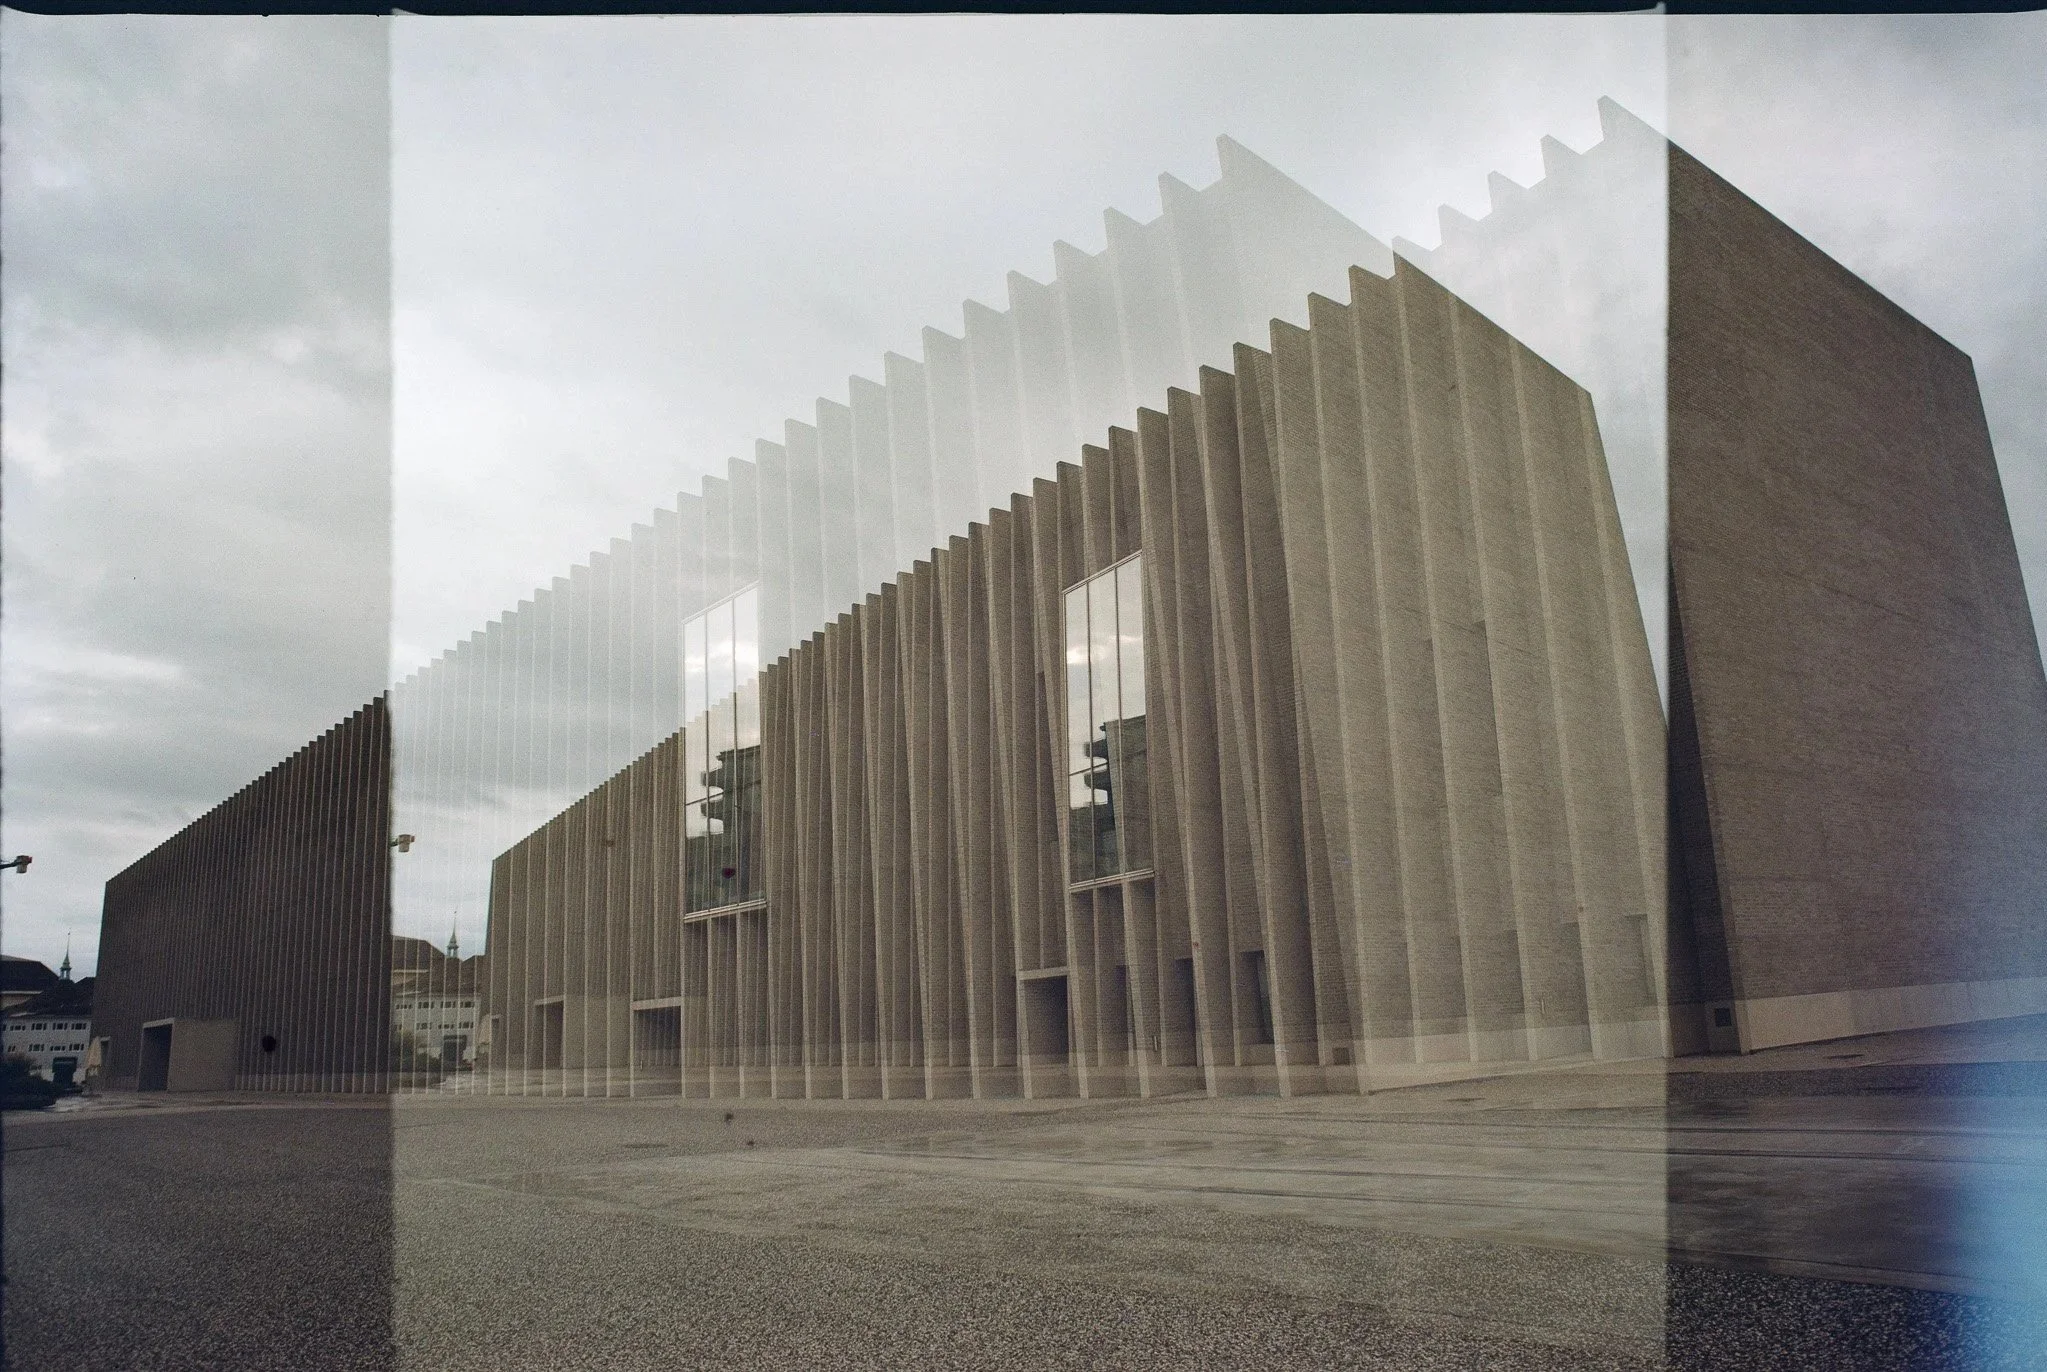
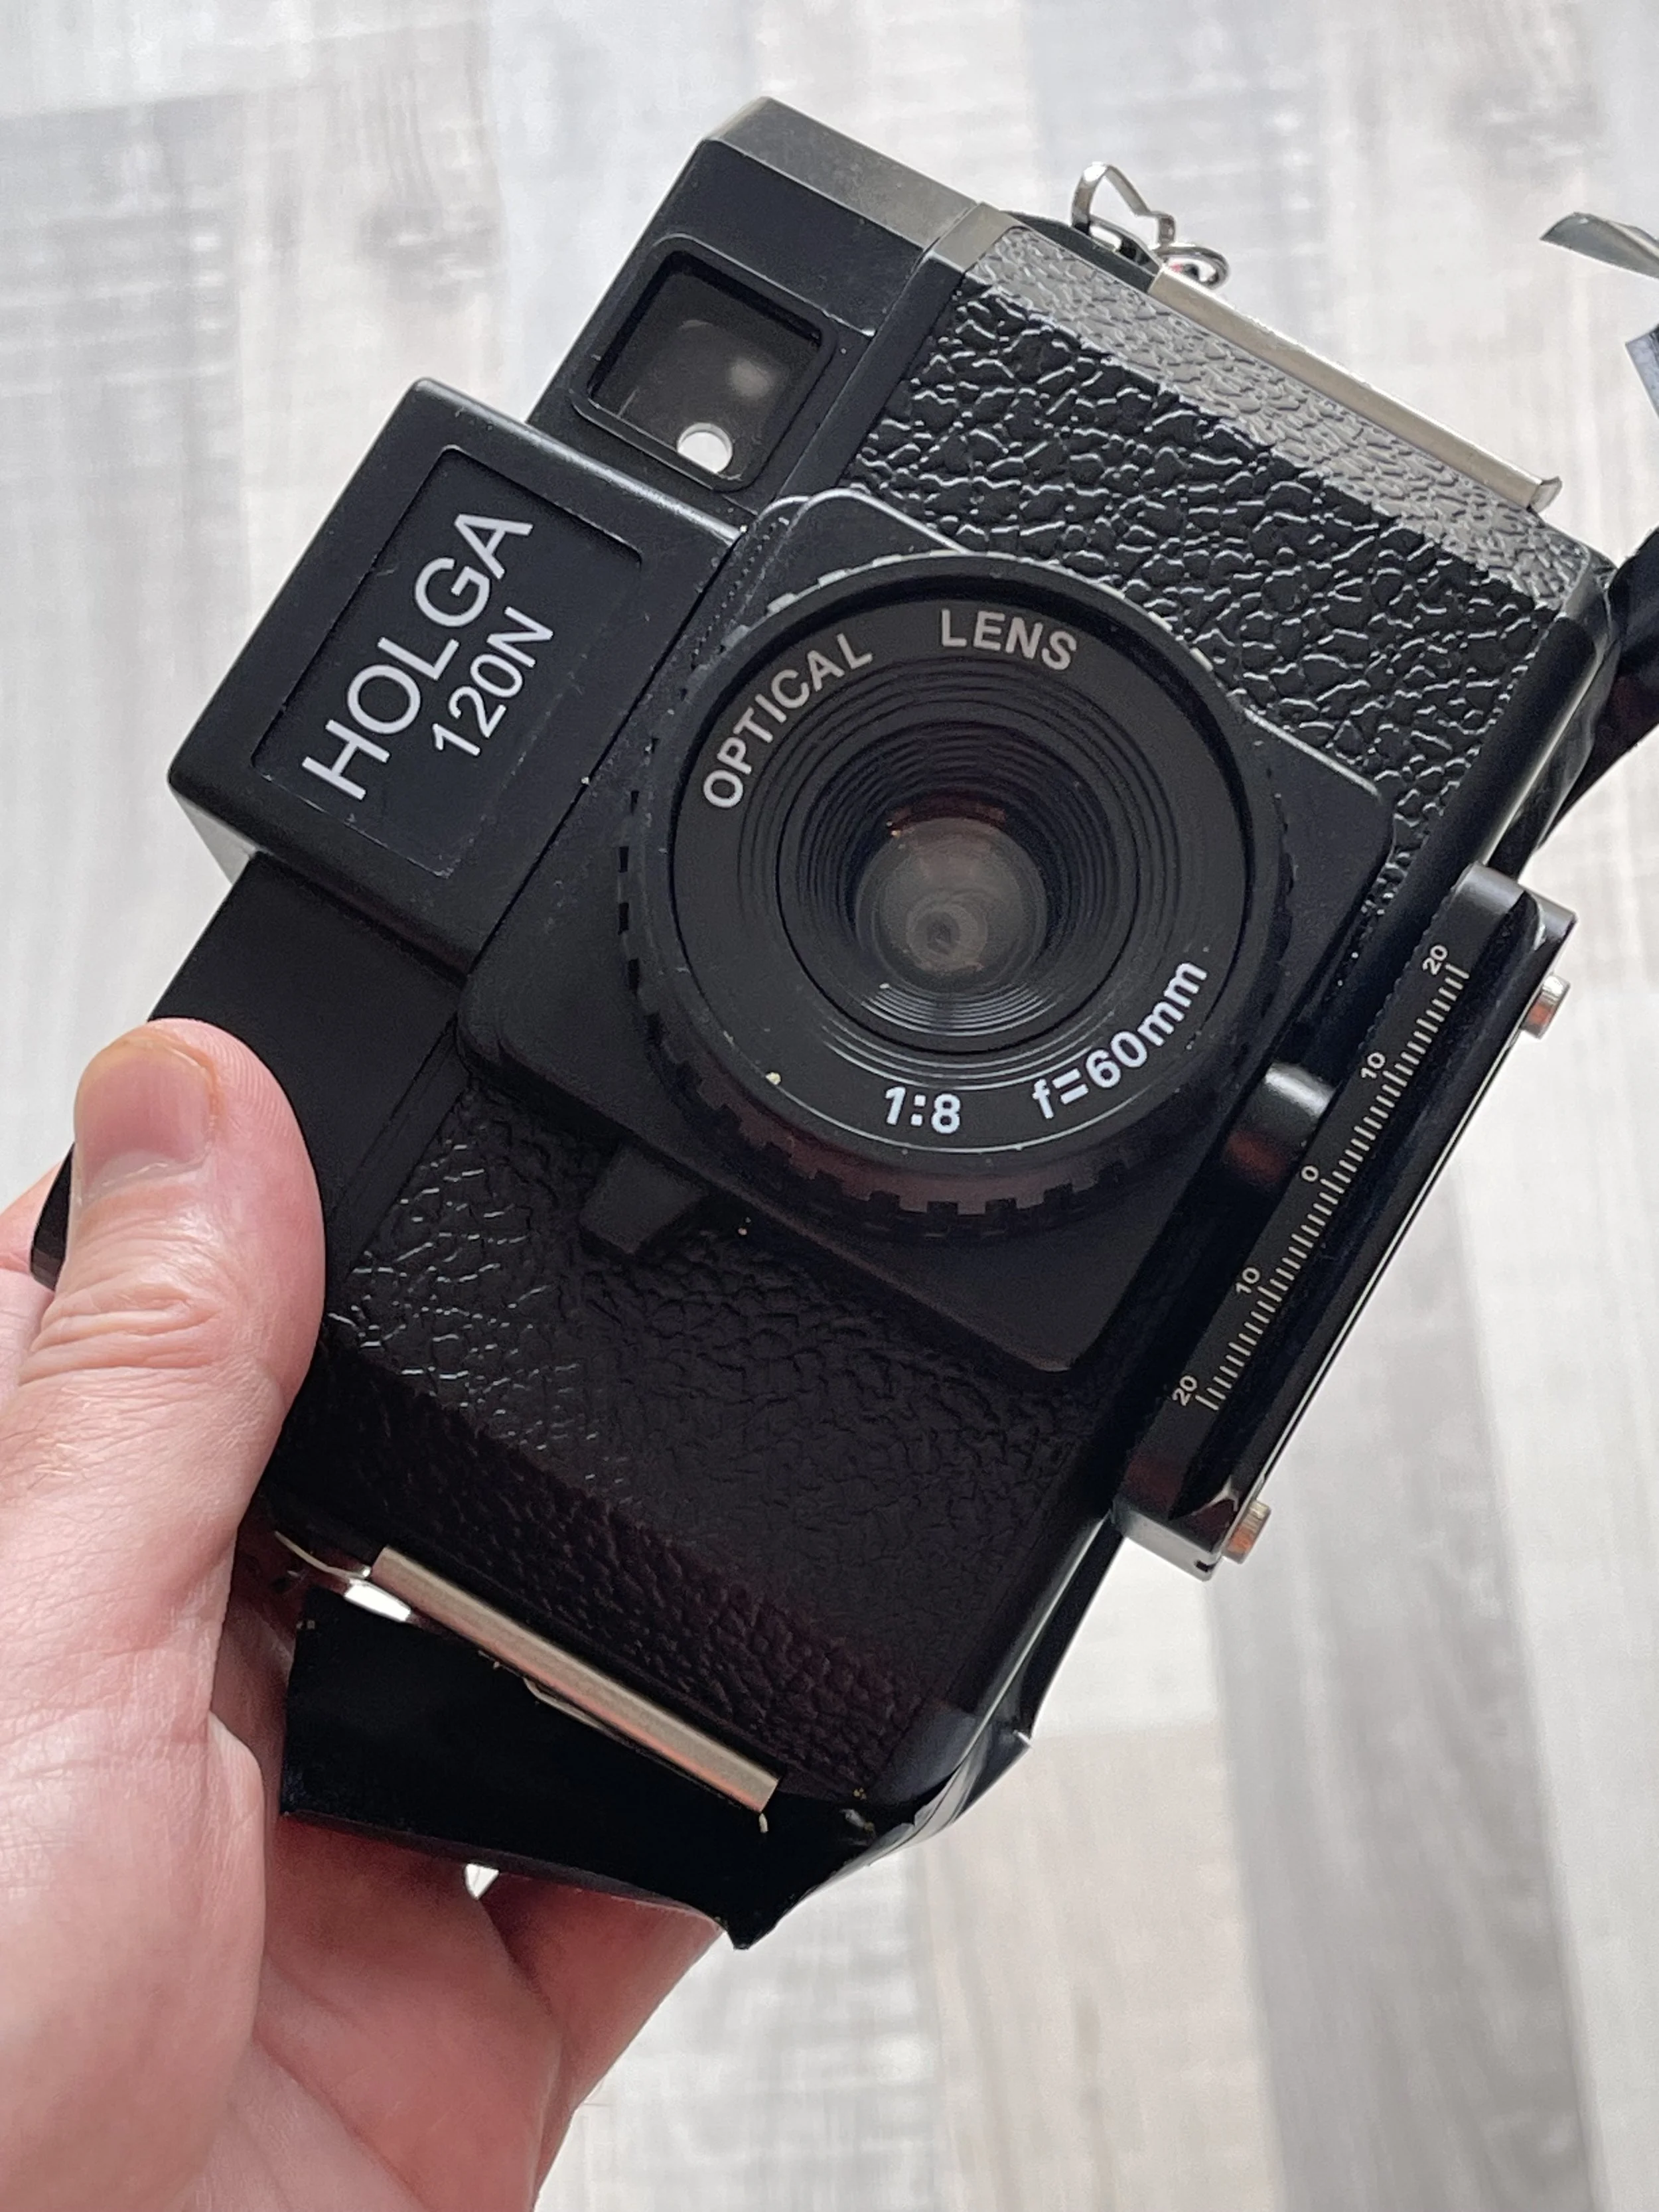
This is a page that is going to grow. It all started with me buying a book on experimental photography in order to challenge myself. This book contains a series of 52 challenges looking at different types of photography, one of which is a “Holgarama”. To take a Holgarama, you first need a Holga, which is what you see in the photo on the right, This is photography at its most basic: plastic camera and plastic (!) lens. There are some vague scales for focusing the lens and a switch with a sun and some clouds that equates to f16 and f8… but that’s it. It uses 120 film, which is worth a blog entry all of its own, and has a viewfinder which, suprisingly enough, is not “through the lens”. Holga’s are known for their light leaks, which some people embrace and others, like me, try to minimse with the electrician’s tape that you can see on mine. In terms of shooting, absolutely everything is manual. You press the shutter (remember to take the lens cap off before you do, otherwise you’ll just get a black photo) and you wind on manually (there is no stop, so watch the film advance window carefully. If you don’t respect this process you will get some interesting or baffling multiple exposures. Anyway, back to the Holgarama. Because the Holga is actually a medium format camera, it comes with a mask so that you can shoot either in 6x6 (getting you 12 shots per roll of film) or 6x4.5 (which gets you 16 images). But if you set the film window to 16 but leave the mask out, you are shooting overlapping images. In fact, you can shoot the 16 images as one massive 1 metre panorama. All you need to do then is find a lab that can process 120 film and dig deep into your pockets. The Holga 120N is dirt cheap, but processing the film isn’t.
Mamiya RB67 - The Beast
If you have an issue with the RB 67 you will usually find out that the problem is you, not the camera. This has happened to me on several occasions, either when preparing the camera or in the middle of a shoot.
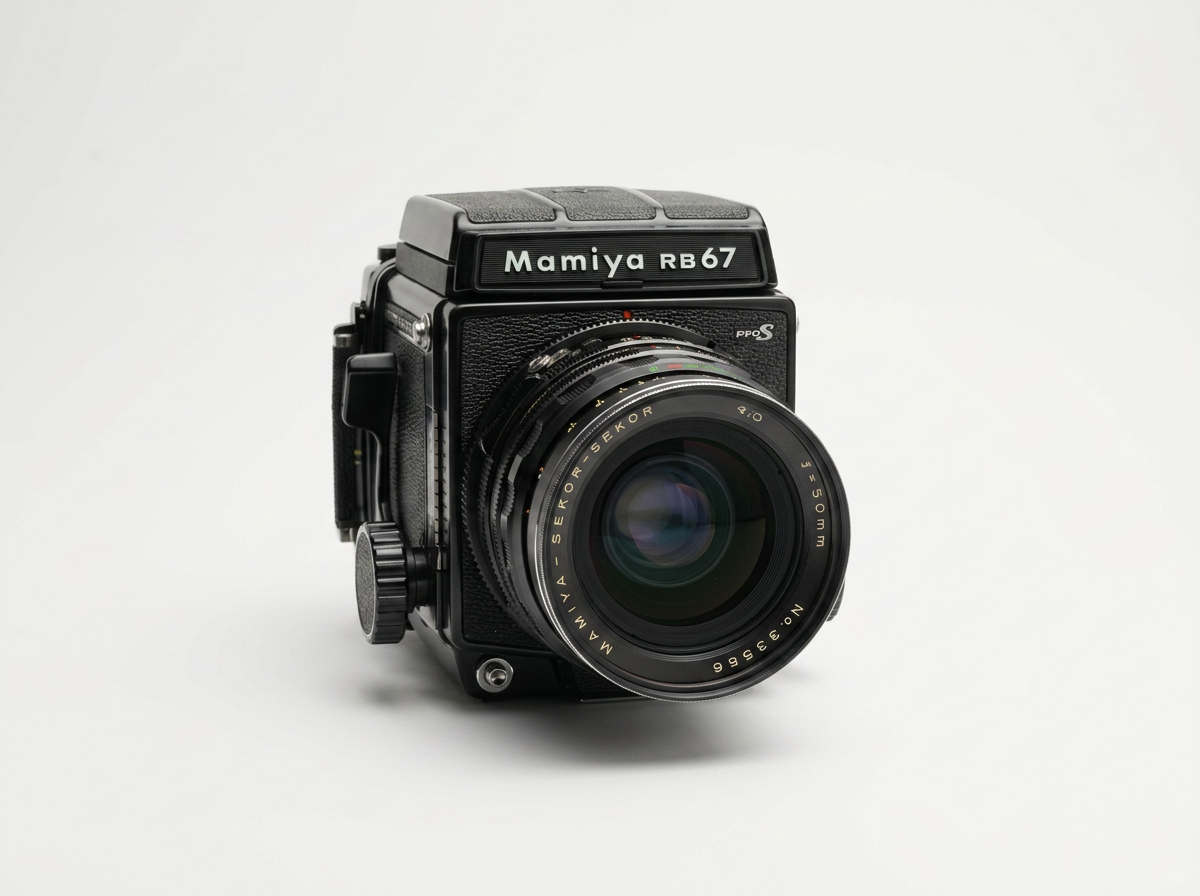
I got my RB 67 from Japan, where there are a lot still available on eBay either as bodies or with a lens or two bundled in. There are also plenty of lenses available separately. Mine was quoted as being in good condition and it arrived extremely well packed, matching the description. As you can see, it came with the 50mm Mamiya Sekor lens, as I mainly shoot landscapes.
The Mamiya RB 67 and landscape photography are two antagonistic concepts, however. The RB 67 is big, bulky and heavy. And if you’re planning to shoot more than 10 shots (which is all you get on a roll of 120mm film in the 6×7 format) then you will need to carry a second back around with you.
But the back is also one of the great benefits of the RB 67. Having two backs means that you can carry two different film stocks around and switch between the two. I like to have black and white and colour loaded at the same time. You can also shoot in portrait and panorama by turning the back rather than the camera (the “RB” in the name stands for “rotating back”).
This is a fully manual camera without any electronics. There isn’t even a light meter. This, together with its bulk, forces you to slow down with every aspect of your photography, from loading the film to composing your shot, setting your exposure and shooting (and even developing, given the difficulty of getting 120mm film developed).
Loading the film
I have come a cropper a couple of times here. Removing the back is straightforward enough: there are clear sliders marked “Lock” on the top and bottom of the back that you need to slide across to release the back from the body. You then need to pull down a little tab at the bottom of the case to open the back. Note that the back then separates into two parts: the external cover with the dark slide and the internal film holder. To release the film spool you press down on the rod next to it (left to load a new film spool, right to unload an exposed film spool).
With the film spool loaded, you need to pass the film behind the back and wind it round to insert into the take-up spool. Wind the film until the arrow on the film back aligns with the one marked on the back. You can then close the back and it will remain light sealed as long as the dark slide is inserted.
Metering
You basically have two options here. You can either go with the “sunny 16” rule, which means setting your speed to 1 divided by your film speed at f16. This works fine up to a film speed of ISO 400, but since the fastest shutter speed on the RB 67 is 1/400th of a second, you will be stuck beyond that.
The other option is to use an app such as Lightme, which allows you to spot meter and includes a handy scale for zone metering if you want even more control over your exposure.
Once you have your exposure settings, you literally dial them in on the lens directly, setting f16 and 400 against the red dot.
Composing
If you are used to working with a digital camera, this is where you might struggle. If you have the waist level viewfinder you can just lift it up to see the image reflected on the mirror. There is also a loup that you can pop up to help you with focusing. As I have so far only shot landscapes with the 50mm lens, I have kept focus on infinity and it has been fine. But if you are working closer on portraits then you can focus with the rotating knob on the left-hand side that moves the bellows forwards or backwards. The great thing about the RB 67 is that there is a lever to lock focus once it’s acquired, so you don’t need to worry about losing focus if you knock the camera. In fact, if you knock the camera you are more likely to injure yourself than you are to affect the shooting.
Shooting
“Point and shoot” is not really something that you can do with the RB 67. You have to do things in the right order before you can fire the shutter: wind the film on (otherwise you can’t cock the shutter); cock the shutter; remove the dark slide, then fire away. Try pressing the shutter button (which is on the right-hand side on the bottom of the body if you are holding your camera to shoot) without removing the dark slide and nothing will happen. That’s a great failsafe when you only get ten shots, but pay particular attention to the little lever underneath the winding lever. If this is pushed forward and you see a red dot, then the double-exposure protection is off. This means that the shutter will fire even if you haven’t wound the film on. I hadn’t paid attention to this with one roll of shooting and it led to some surprise double exposures like the one below.